Ok so in part one we setup a Windows Deployment Server. Now in part two we are going to add the boot images.
first of all you need a Vista Install CD with Service Pack 1 DVD. It has to be Service pack one built in or this will not work, for this example I used Vista Business with SP1 DVD
At the server insert the DVD and go to the WDS Console

Right click on boot images and select add boot image

Browse to the DVD and to the sources directory and select the boot.wim file

The Console reads the built in Metadata and puts it in to two text boxes so that you can change it so you know just what to use the boot image for, for example this one i want to use for booting X86 Image for Vista

This is a Image to deploy Vista x86 images so that's what I have called the image and given a full image description, so in this case I have expanded on the Image name.

Check the settings on the confirmation screen before clicking next

After the image has been imported you will be asked to click finish at this point you have a PXE Bootable Image,

so this is what you end up with a Vista Deployment X86 image listed as online and available for PXE networked machines to boot from.
Now that's great we can boot a PC but without any images to install its pretty pointless so we need to be able to capture an image and transfer it to the WDS Server. for this we need to create another Boot image with the Capture tools built in.

Right click on the boot image that we have just created and select Create Capture Boot Image.

First we need to give the Image a new name so we can distinguish between the two boot images. I have changed Deployment to Capture and the same in the description, next you need to browse to where the images are kept for me as I set the Install Directory to D:\RemoteInstall the full path is D:\RemoteInstall\Boot\x86\Images. Then I gave the new image a file name of Capture.wim. Don't make the initial mistake I made and think that location and file name is of the image you want to use as the source, its not clear but this is the path and the location of where you want the new boot image to be and be called.
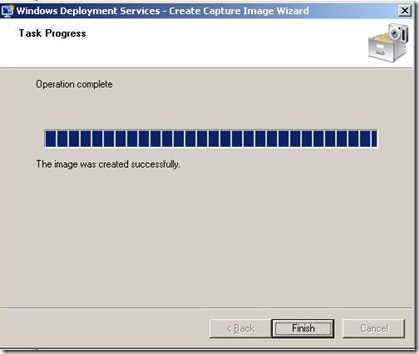
Once the image has finished importing then you will end up with this screen click finish and then click out of boot images Right click on the server and select refresh and then click back on to boot images, seems to be a little bug where the boot image section doesn't refresh after creating a capture image.

Once it has refreshed you will be reward with this screen showing that you have two boot images, one for deploying an image and one for capturing an image. In part 3 we will go through the creating a reference PC, Sysprep and capture of image, we will also discuss PXE a little more and how to find out if a network card supports PXE


No comments:
Post a Comment